Image-to-video guide
How to Animate a Photo With AI: A Practical One-Image Workflow
You do not need to describe the whole picture again. Start with an image you can use, tell the generator what should move, and check the exact video setup before you spend credits.
Published October 14, 2026
The short version
To animate a photo with AI, upload one clear image, write a compact motion direction, choose the duration and aspect ratio, review the current credit quote, and generate the clip. The source image defines the subject and composition; the prompt should concentrate on action, camera movement, and the ending.
Image-to-video creates a new clip rather than a deterministic animation. Identity, anatomy, texture, timing, and background details can change, so treat the first result as one version to review—not a guaranteed copy of the still image in motion.
What image-to-video is useful for
This workflow works best when the still image already contains the subject, framing, and visual style you want. A product photo can gain a camera push, a pet portrait can gain one readable action, and an illustration can become a short reveal or reaction clip.
It is less suitable when you want to replace the entire scene, create a long sequence, edit dialogue, add captions and music, or publish directly to a social account. Blinkvid makes the motion asset; those finishing steps stay in your normal editing workflow.
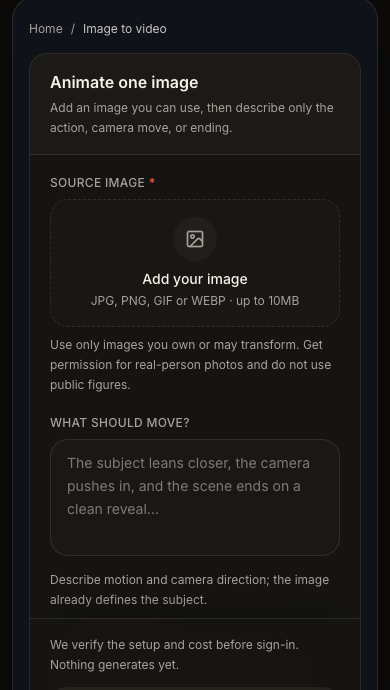
Prepare the source
Choose an image that leaves the model one clear job
The generator should be able to identify the main subject without guessing which face, object, or background element matters most.
- Use an image you own or are authorized to transform.
- Prefer one clear subject with enough space around the action you want to add.
- Avoid tiny faces, heavy blur, extreme compression, and important details already cropped at the edge.
- For real people, get permission and do not use public figures. Do not upload unsafe content involving minors.
- Choose the final orientation early when possible: vertical for TikTok, Reels, and Shorts; landscape for a wide edit.
Step by step
How to turn the photo into a short video
1. Add the source image
Upload the exact frame you want the clip to start from. Check the preview before moving on.
2. Describe one motion
Name the subject action, one camera move if needed, and a simple ending. Do not rewrite every visible detail.
3. Review the setup
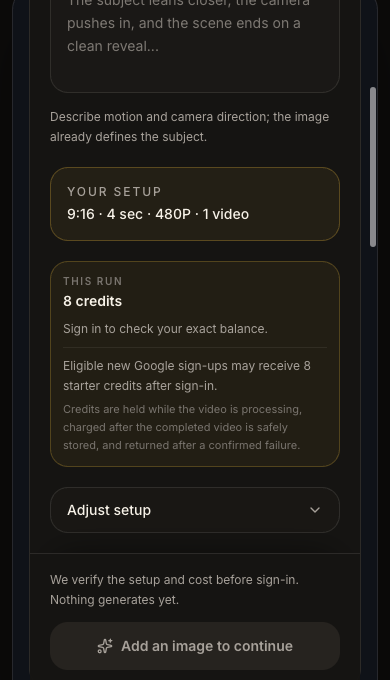
Confirm the aspect ratio, duration, resolution, model option, output count, and current credit quote.
4. Generate and review
Wait for the submitted job to finish, then download the ready MP4 and decide what one change would improve a new version.
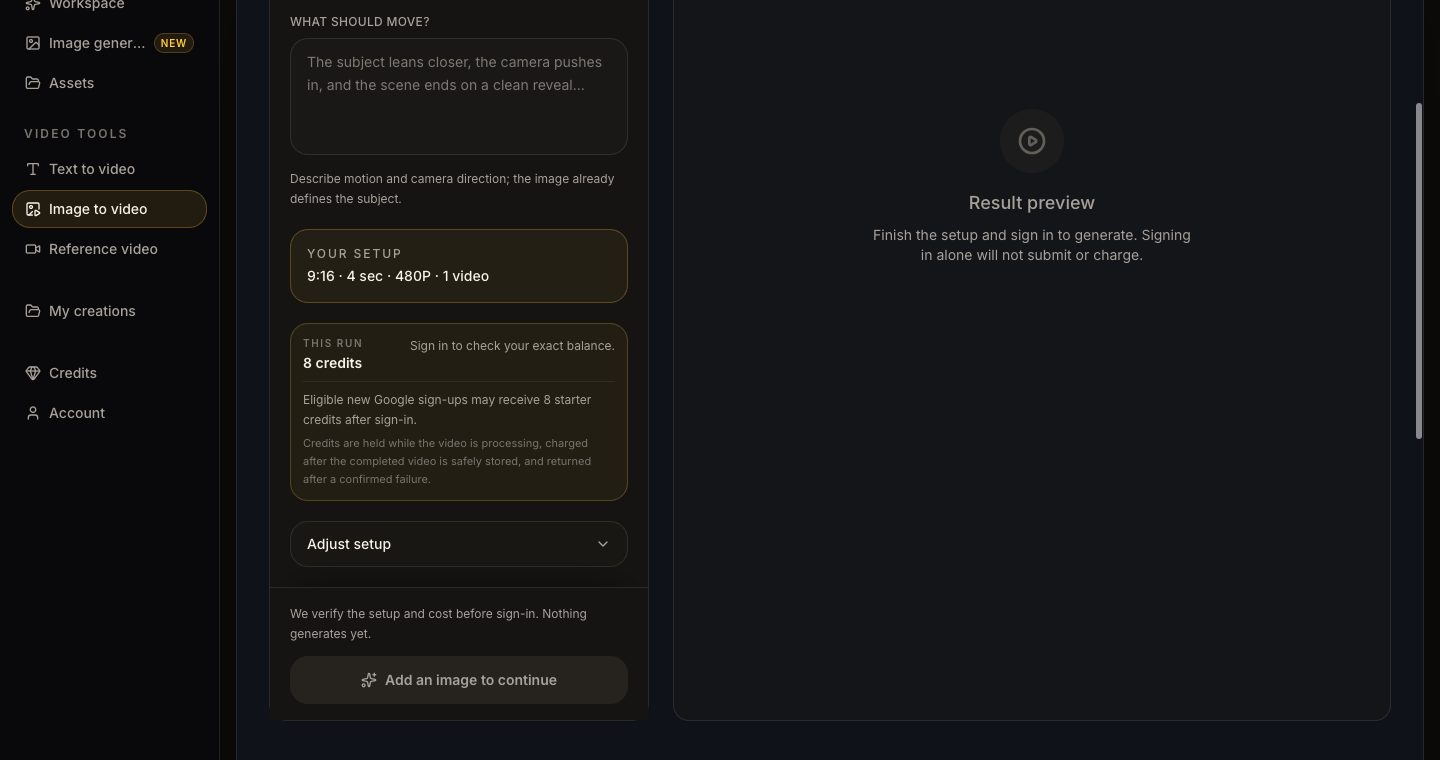
Write motion instead of describing the image twice
A practical structure is: subject action, camera movement, ending. For example: “The ceramic robot turns toward the window, the camera moves in slowly, and the shot ends on the glowing face.” The image already tells the model that the subject is a ceramic robot and what the room looks like.
Keep the first attempt readable. Two competing actions, several camera moves, a costume change, and a new location in one short clip give the model too many decisions. If the action is important, make it the only large change.
Check these details before you generate
- The source image is the correct file and its subject is visible in the preview.
- The prompt says what moves and how the shot ends.
- The aspect ratio matches the destination edit.
- The duration and resolution are intentional rather than default values you overlooked.
- The current server quote is acceptable for this attempt.
Review the result
If the first version is not a keeper, change one thing
A controlled second attempt is easier to learn from than replacing the image, prompt, model, duration, and ratio at the same time.
- If the subject drifts, reduce the amount of motion and reinforce one stable action.
- If the framing is wrong, choose a source with more space around the subject or simplify the camera move.
- If the opening feels slow, put the clearest action in the first sentence of the motion direction.
- If the prompt was missed, remove decorative language and state the subject, action, camera, and ending directly.
- Keep a usable result before starting another version; generation is not an undoable edit to the existing MP4.
Start with one image and one clear motion.
Open Blinkvid’s image-to-video workspace, add an image you can use, and inspect the setup and live quote before generating.
Open image to video Blinkvid